I must confess that I'm not very good at getting 'before' photos. I'm usually so excited to get started, that I forget to take photos until I'm part way through a project. The master bedroom is no exception. These before photos are really after the initial cleaning, to include carpet cleaning. So you don't really get the full impact of how dirty everything was.
Here are the (sort of) before photos:
Here are the (sort of) before photos:
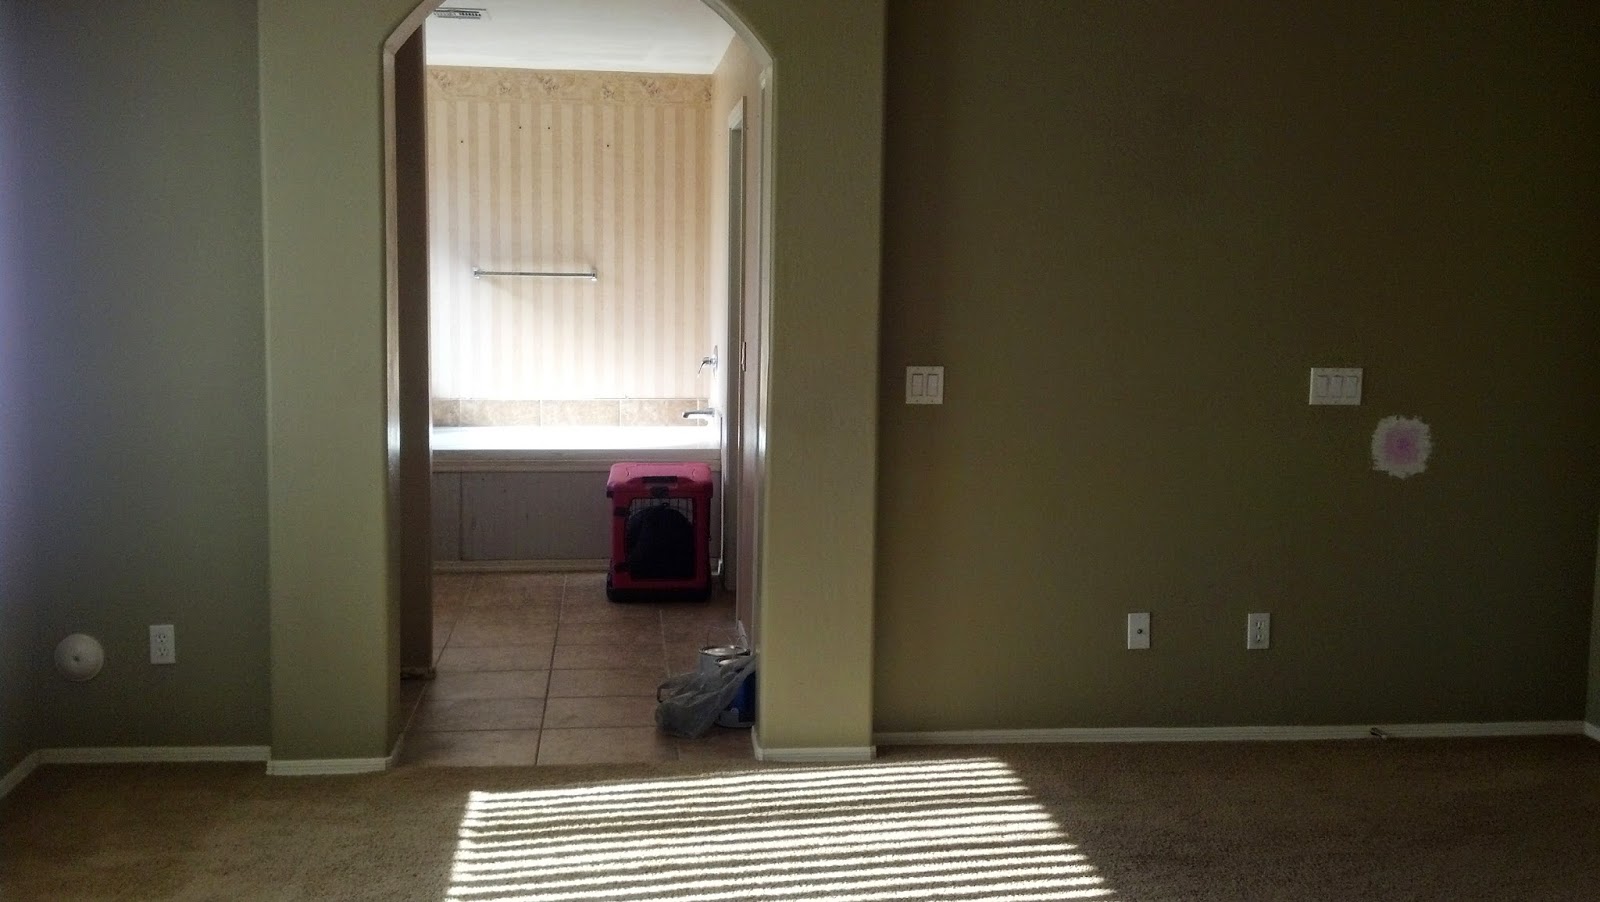 |
| Entry to the master bath. This wall is exactly opposite the bed wall below. Notice I had already begun patching the hole where the door handle hits the wall (right hand side). Again, I am sooo bad at getting 'before' photos. |
 |
| Bed wall |
 |
| Window wall. Hmmmm, vertical blinds. |
The room was beige, with beige carpet. Color-wise, it was not terrible, and it didn't have any wallpaper, like so many of the other rooms in the house, so that was a bonus. However, the walls were dirty and had a lot of dings and nail holes. And of course, there was the aforementioned hole behind the door, where the door handle had hit the wall.
The carpet was filthy, and came complete with a cat dropping. The listing agent told us that a stray cat had gotten stuck in the house after wandering in during a showing, and was freed days later during another showing.
The windows wore a film of dirt and dust and despair. Ceiling fan, likewise. Baseboards, ditto. As with every other area in this house, it was just dirty and dusty. As I mentioned in the previous post, We Bought a Project, this house was a short-sale which had been vacant for just over a year.
Mr. Caulk took on the task of cleaning the windows, and I cleaned the carpet. The windows allowed light in once again, and the carpet turned out remarkably clean! I really though we'd have to replace it, but I was willing to try to clean it first, just in case, and it turned out great!
On to the ceiling fan! I should have cleaned this before cleaning the carpet, but since I didn't use that logic, I just put a drop cloth under it to catch all the crud. It cleaned up nicely.
After cleaning, a couple of initial tasks were needed, right off the bat: painting, and a mini-makeover on the ceiling fan.
Let me just take a moment to address the ceiling fan. If I were doing this from scratch, i.e., building a house and picking out the lighting, I would not choose this ceiling fan. But overall, it’s not terrible, and I’m not trying to spend a lot of money on things that will stay with the house when we move on. The biggest problem I had with it was those glass shades for the bulbs... I mean Really! This house was built in 2002, but those shades look like they’re from the eighties. And they look like Ma and Pa Kettle were living here instead of a young family, the latter of which is true. So for all that is good in the world, I had to do something about it. This called for a tiny makeover in the form of new glass shades.
 |
| Ceiling fan Before |
 |
| Ceiling fan After, with new glass shades. Ahh, that's better. |
The replacement glass shades didn't make the ceiling fan beautiful, but they at least brought it into this century.
Now for the painting. Whoever painted the room the last time broke the cardinal rule of painting, which is, “Don’t get it on the ceiling!” So I was going to have to paint the ceiling, or live with beige paint spots here and there around the edges of the room. No, that wouldn't do. Even one beige paint spot would be too many. Okay, it was just one beige paint spot, but as I said, it was one too many. That one spot would just ruin the entire visual. And let’s not be lazy, People; do it right! My first-born knows what I’m talking about (you get me, you really get me).
Ceiling-painting is my least favorite painting task, and the ceiling was in great shape, other than that one beige paint spot. I was cursing the previous painter for the careless blunder and wishing that person had just grabbed a wet paper towel and wiped up their terrible, terrible mistake. Why don’t people wipe that up?
I purchased a gallon of my favorite trim color (Valspar Statuesque, 7002-5) in semi-gloss, and I picked up a gallon of the same color in flat for the ceiling. Like any good painter, I started with the ceiling, so that little splats from rolling the ceiling would not land on newly painted walls.
I started cutting in around the ceiling edges, where the wall meets the ceiling, and the paint color looked remarkably similar to the color that was already on the ceiling. As it dried, it looked even more similar. No Way! My favorite off-white that I've been using for trim for years, actually matches the ceiling color in this house? Serendipity! I didn't have to paint the ceiling after all! I just cut in around the entire room, covering that beige spot, and the previous imprecise line between the walls and the ceiling (another pet peeve), and I was good to go!
Spoiler alert: color scheme ... I'll address how I arrived at the color scheme in another post. I painted all the walls except one with a light gray color in flat (Valspar Gravity, 4005-1B) and painted one feature wall where the bed will go in flat dark gray (Valspar Mark Twain Gray Brick, 4005-2C). I like flat paint, because it hides imperfections better than anything with a sheen (and looks like velvet), and I don’t have little kids running around, so I don’t have an issue with keeping walls clean. If I did, I would definitely go with an eggshell sheen.
So to review ....
And after all that, I had my starting blank palette. Next stop: furniture, accessories, window treatments. You heard me. I'm not keeping those vertical blinds.
Now for the painting. Whoever painted the room the last time broke the cardinal rule of painting, which is, “Don’t get it on the ceiling!” So I was going to have to paint the ceiling, or live with beige paint spots here and there around the edges of the room. No, that wouldn't do. Even one beige paint spot would be too many. Okay, it was just one beige paint spot, but as I said, it was one too many. That one spot would just ruin the entire visual. And let’s not be lazy, People; do it right! My first-born knows what I’m talking about (you get me, you really get me).
Ceiling-painting is my least favorite painting task, and the ceiling was in great shape, other than that one beige paint spot. I was cursing the previous painter for the careless blunder and wishing that person had just grabbed a wet paper towel and wiped up their terrible, terrible mistake. Why don’t people wipe that up?
I purchased a gallon of my favorite trim color (Valspar Statuesque, 7002-5) in semi-gloss, and I picked up a gallon of the same color in flat for the ceiling. Like any good painter, I started with the ceiling, so that little splats from rolling the ceiling would not land on newly painted walls.
I started cutting in around the ceiling edges, where the wall meets the ceiling, and the paint color looked remarkably similar to the color that was already on the ceiling. As it dried, it looked even more similar. No Way! My favorite off-white that I've been using for trim for years, actually matches the ceiling color in this house? Serendipity! I didn't have to paint the ceiling after all! I just cut in around the entire room, covering that beige spot, and the previous imprecise line between the walls and the ceiling (another pet peeve), and I was good to go!
Spoiler alert: color scheme ... I'll address how I arrived at the color scheme in another post. I painted all the walls except one with a light gray color in flat (Valspar Gravity, 4005-1B) and painted one feature wall where the bed will go in flat dark gray (Valspar Mark Twain Gray Brick, 4005-2C). I like flat paint, because it hides imperfections better than anything with a sheen (and looks like velvet), and I don’t have little kids running around, so I don’t have an issue with keeping walls clean. If I did, I would definitely go with an eggshell sheen.
So to review ....
|
| Entry to the master bath, before paint. |
 |
| Entry to the master bath, after paint. |
|
| Bed wall before paint. |
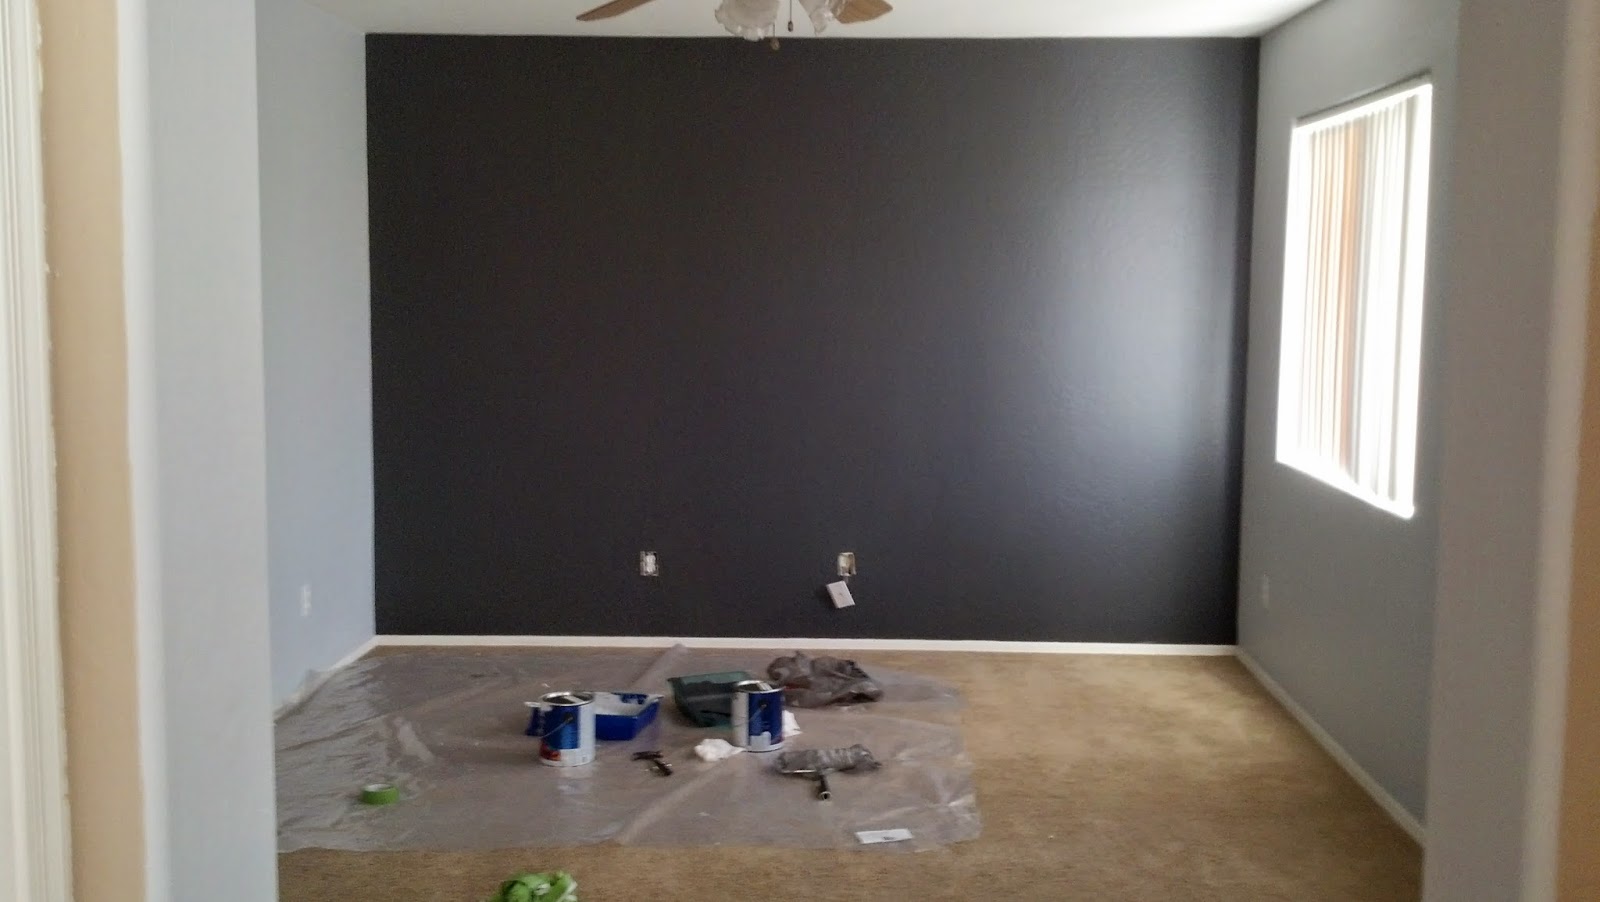 |
| Bed wall after paint. |
And after all that, I had my starting blank palette. Next stop: furniture, accessories, window treatments. You heard me. I'm not keeping those vertical blinds.
"And let’s not be lazy, People; do it right! My first-born knows what I’m talking about (you get me, you really get me)."
ReplyDeleteI DO! I Really DO! Love this and I would like you to post more!